


Wouldn’t it be a dream to simply walk into a gallery and purchase those one-off pieces that would look amazing in your rooms – without breaking the bank?
Some works of art just make all the difference, and you just have to have them! You know what kind of art I’m talking about.
They are the ones you know exactly where you want to place the minute you see them;
… in the corridor, so that you can pass by carelessly sometimes and dote upon them
… or in front of your steps so you just can’t miss them as you climb or descend.
You can even opt for a statement piece in the living room or a sculpture for that perfect spot in your garden.
Sometimes, we think that this is not so easy to achieve since art costs money – but what if we told you that you could buy or even make art at a very affordable price? (read more below!)

Home Decor Ideas: Starting an Art Collection
Art is simply an escape – you are bringing something into your home that you can relate to, that you want to see and feel.
With so many of our homes or apartments being open space planned there is ample room to hang your art – and if you’re not into hanging then create some unique brackets for the frames to lean against (check out our little DIY project below!).
But first, a few questions to ask whilst deciding to purchase a piece of art:
Does it mean anything to me?
It’s true art doesn’t have to have a meaning, but when it’s in your home then it occupies a space in your heart. It is much more of a piece if you choose it (or it chooses you) because it speaks to you…
Meaningful art can be as simple as something that makes you feel good when you see it, an effect that will bring so much more than a wall covering to your personal space.
Is a certain medium lacking in your space?
If you love photography for example, try to switch it up and include a painting or sculpture. It will make your collection feel more complete and encompassing. It’s all about balance and harmonizing your interiors and exteriors.
Can I use this in an unexpected way?
Change up the scale of your pieces. This will add an element of dimension and interest. Different scales will draw the eye in. Our eyes have an understanding of proportion, of positive and negative space. So changing up what is expected will be your design.
Is this splurge worthy?
It’s tempting to go for just the best every time, yet this isn’t always possible or practical. This isn’t to say that you should go for the super cheap either. You want to look for a piece which will grow with you – which will become timeless.
Splurging is very personal of course, it means something to one person and something else to the next. Yet even with all the money to spend on art, you can also evaluate if this is a piece you want to spend your money on, or not.
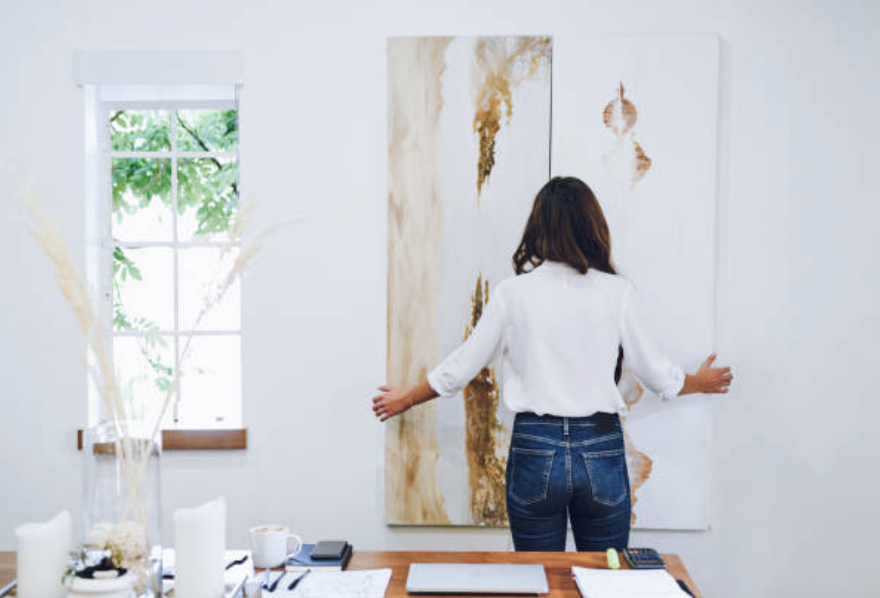
Home Interiors: Art decor ideas
Before you bring out your pencil and ruler to mark, measure and level your wall space take the above into consideration, especially if you have a blue chip taste on a potato chip budget!
A few resources for great, affordable art to outfit any room:
Uprise Art, an online gallery founded by Tze Chun in 2011, specializes in affordable original art. Uprise Art is for the next generation of collectors – it helps people discover original contemporary artwork by emerging artists.

Paper Collective, a Copenhagen-based online art print and poster shop, is a great resource for any lover of abstract art and photography. And did we mention that for each sale, Paper Collective donates 15% to charity? Amazing!

The Real Real is a luxury shopping site but it’s worth a peep!
Artsy is an online art platform, offering pricing tools so that users can find works—from Matisse lithographs to original pieces from less well-known artists—on any budget.

… It’s always a great idea to follow artists you love on Instagram and sign up for their newsletters.
Also, every time you go to a Gallery when on a trip abroad or you just happen to be surfing their online shop, have a look at their huge posters. Fair enough, posters might not be original works of art yet they are quite beautiful when properly framed and exhibited. Try not to let them pass you by!
DIY – Make Your Own Canvas
Make your own…think about it, anything can become a work of art. So you don’t even have to leave the comfort of your own home to make something. Apart from painting, or sculpting how about turning that old scarf into a picture frame worthy object?
From maps, pages of old books (that are coming apart), cards and postcards to pressed leaves, all are great to place on your wall.

The Clip-board Project
An innovative way to decorate your study would be to create a clip-board wall as an inspiration area. Besides you can always change it up whenever you want, with ease.
What you’ll need:
- Clipboard
- Small nails (let’s say 1”)
- Acrylic craft paint
- Paintbrush/Roller brush
- Hammer
- Twist ties
What You need to do Step-by-Step:
Figure out how many you’ll need
Do this by checking about what proportions will fit with your wall.
Paint the clipboards
Paint them a neutral or give them a pop of colour for fun. Or how about going metallic! It’s your pick, but if it doesn’t work out you can always paint over.
Simply roll some kraft paper and paint them in batches, using twist ties (you know those white things that are used for bagged bread) work well to keep the clip open whilst you try to paint around.
Measure and hang
Leave equal spacing between the boards on either side, keeping the horizontal and vertical sides the same or similar sizes. Take into consideration any furniture or items that you want in the same space.
Style it and put the look together
Don’t feel pressured to fill it up straight away. Do so gradually and rotate through inspiration and practical organization.
Change them up according to the season!

(Intentionally) Starting a Collection
No matter how you prioritize your spendings, even the most interior design-inclined young adult might feel intimidated by the idea of starting an art collection. There are so many questions: Where do I begin? Where do I look? Can I afford art at all?
Yes, there are flea market paintings and thrift store prints to pick over—but if you’re looking to find new artists and works of art then there are places you can go to for these things too.
A Few Tips
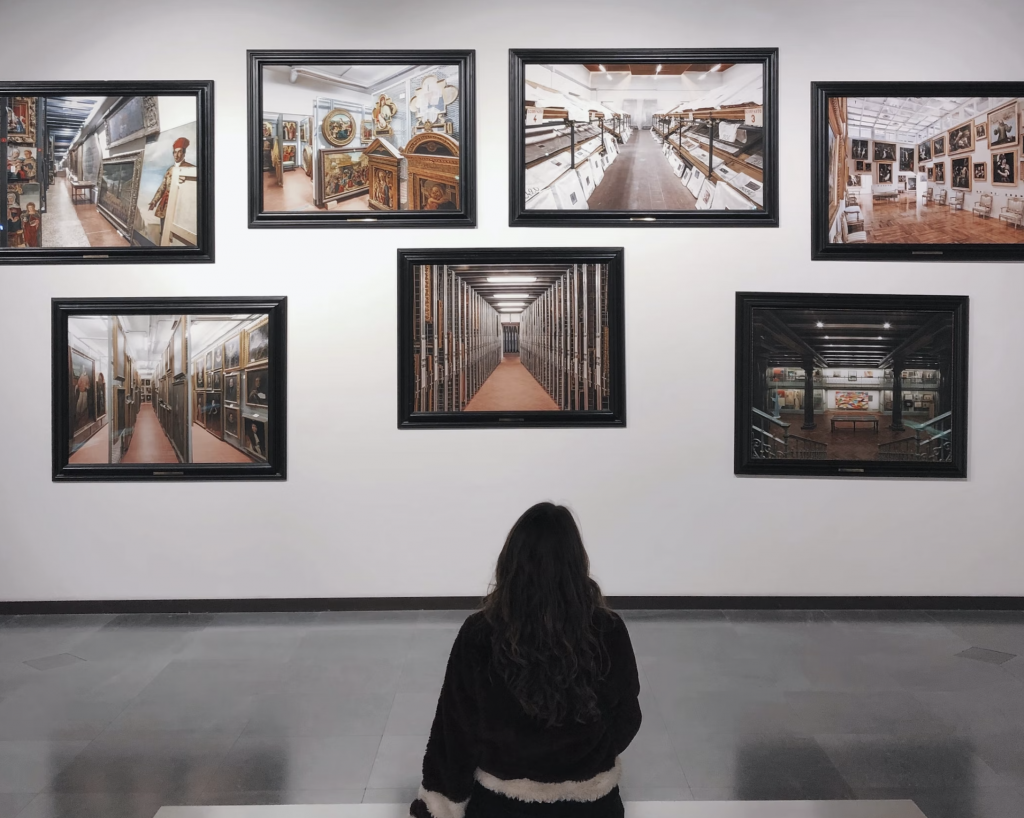
Go to Art Exhibitions
You have to seek it out to know what you like. Go to gallery openings and exhibitions (if you want to skip the crowds then head to the galleries in your area on your way home after work).
Visit some art fairs (not all are made equal but they’re worth a visit even if they’re small), these are a few neat ones:
- Frieze Art Fair (NYC, London)
- Pulse Contemporary Art Fair (NYC, Miami)
- Affordable Art Fair (NYC, Hong Kong, Singapore, Seoul, Amsterdam, Brussels, Hamburg, Milan, Stockholm, London, Bristol)
- Art Market (San Francisco, NYC, Long Island, Seattle, Houston)
- VOLTA (NYC, Berlin)
- FIAC (Paris, Los Angeles)
- Liste (Switzerland)
- Marfa (Texas)
Similarly… go to student art fairs! – in the local context think about MCAST and also the art schools.
Free days at Museums – take advantage of free days, and also the longer days. Usually museums stay open till late at least one day a week, which makes it for a great night out too.
Ask the right questions
Ask the curators about artist’s studio visits, in the local scene many artists own their own studio which is pretty handy for us.
Ask for prices if they are not listed next to the artwork. If it’s too expensive but you want it nonetheless ask about payment plans – some artists will be open to them.
Surf the internet for ideas
Try social media as well as online resources and sellers.
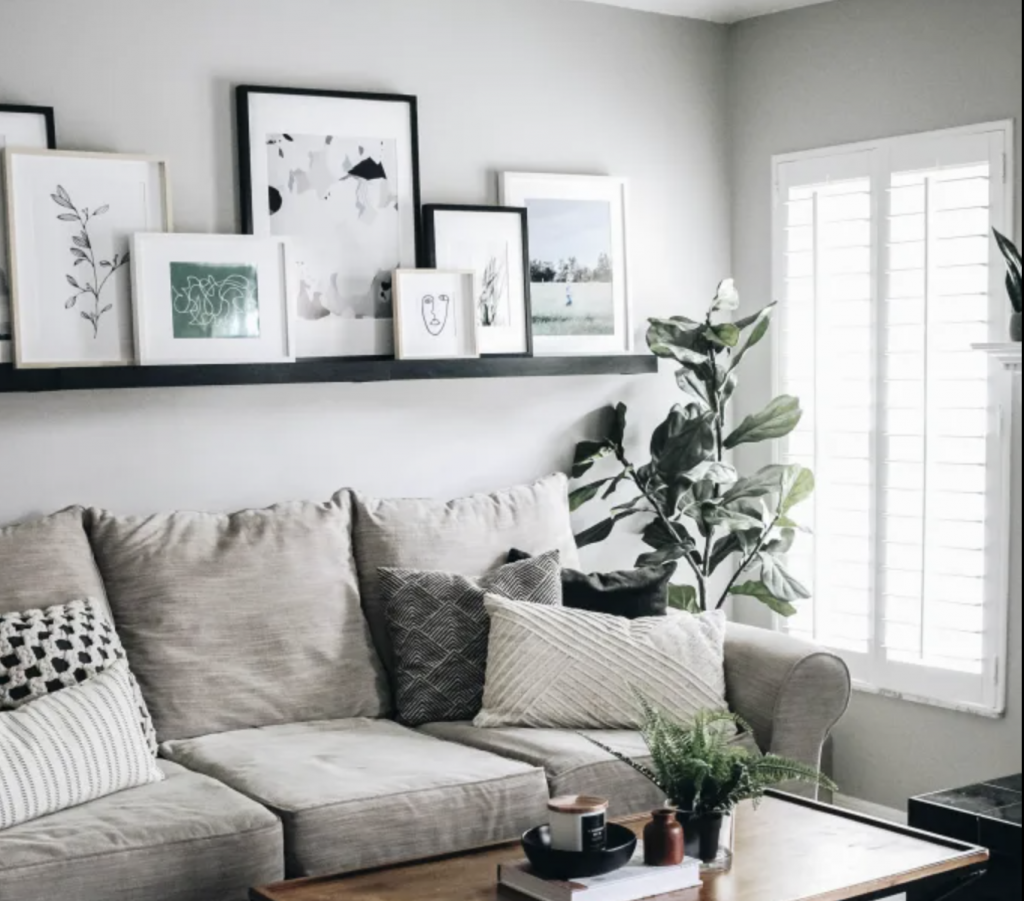
Display your art
After going through such a process to obtain and understand art, the least you can do is have it somewhere you can appreciate it. No hidden art!
Do consider unexpected places, and think about having it leaning instead of hanging everything. The important thing is to plan beforehand.
All of this goes for sculpture too of course.
The Photo Ledge Project
Step 1 | MEASURE YOUR SPACE + GATHER YOUR MATERIALS
Quickly assess the space where you want to hang your ledge and determine how long you need your ledge (or ledges) to be. Then, a quick trip to your local hardware store will do the trick.
You’ll need:
- a small can of wood stain
- a drop cloth (or something you can get dirty)
- wood glue
- a small can of wood stain
- a small paintbrush to apply your stain
- 2 clamps
- sandpaper (optional)
- a drill and screws to fasten ledge to wall
- wood (I chose pine wood, because I like the way it looks stained.)
You’ll need three pieces of wood to build the ledge. Have your pieces of wood cut to the length you’d like your ledge to be.
Wood sizes:
- 1 inch depth x 2 inch width piece for the front of the ledge
- 1 inch depth x 3 inch width piece for the bottom of the ledge
- 1 inch depth x 2 1/2 inch width piece for the back of the ledge (this is the part you will drill into your wall)
If your hardware store doesn’t carry these exact sizes (they are not all standard) then they will typically cut them down for you at the same time that they are cutting the length.
If not use the closest sizes available and cut the length of the pieces using a simple handsaw. This ledge can be customized in whatever way you need or want.
OPTIONAL STEP | SAND
Using a sheet of sandpaper, you can sand down any rough edges before staining especially if the ledge is for a kid’s room or can be reached by a child.
Step 2 | STAIN
Stain your wood to the color of your liking. Cover the wood with two coats of stain and set it out in the sun to dry for about 15 minutes.
Step 3 | GLUE
Apply a good amount of wood glue to either side of your 1 x 3 inch piece (for the bottom of the ledge), and attach your front and back pieces to it.
Step 4 | CLAMP & DRY
Clamp your ledge together and allow the glue to set for a full 24 hours.
Step 5 | FASTEN TO THE WALL
Attach your new ledge to the wall with a drill and screws, drilling straight into the “back” piece of your ledge. Use strong screws and, for best results, drill straight into a stud.
And that, is the perfect hassle free leaning picture ledge!
We hope that we have provided an informative overview about how to purchase, display and care for your artwork. Feel free to contact our Interior Design team if you need help on the best places to display in your layout or if you need more information on local art dealers.


